
In the Editor
In this guide we will demonstrate how to create and use an OpenAI function in our Editor. We refer to functions internally as tools.
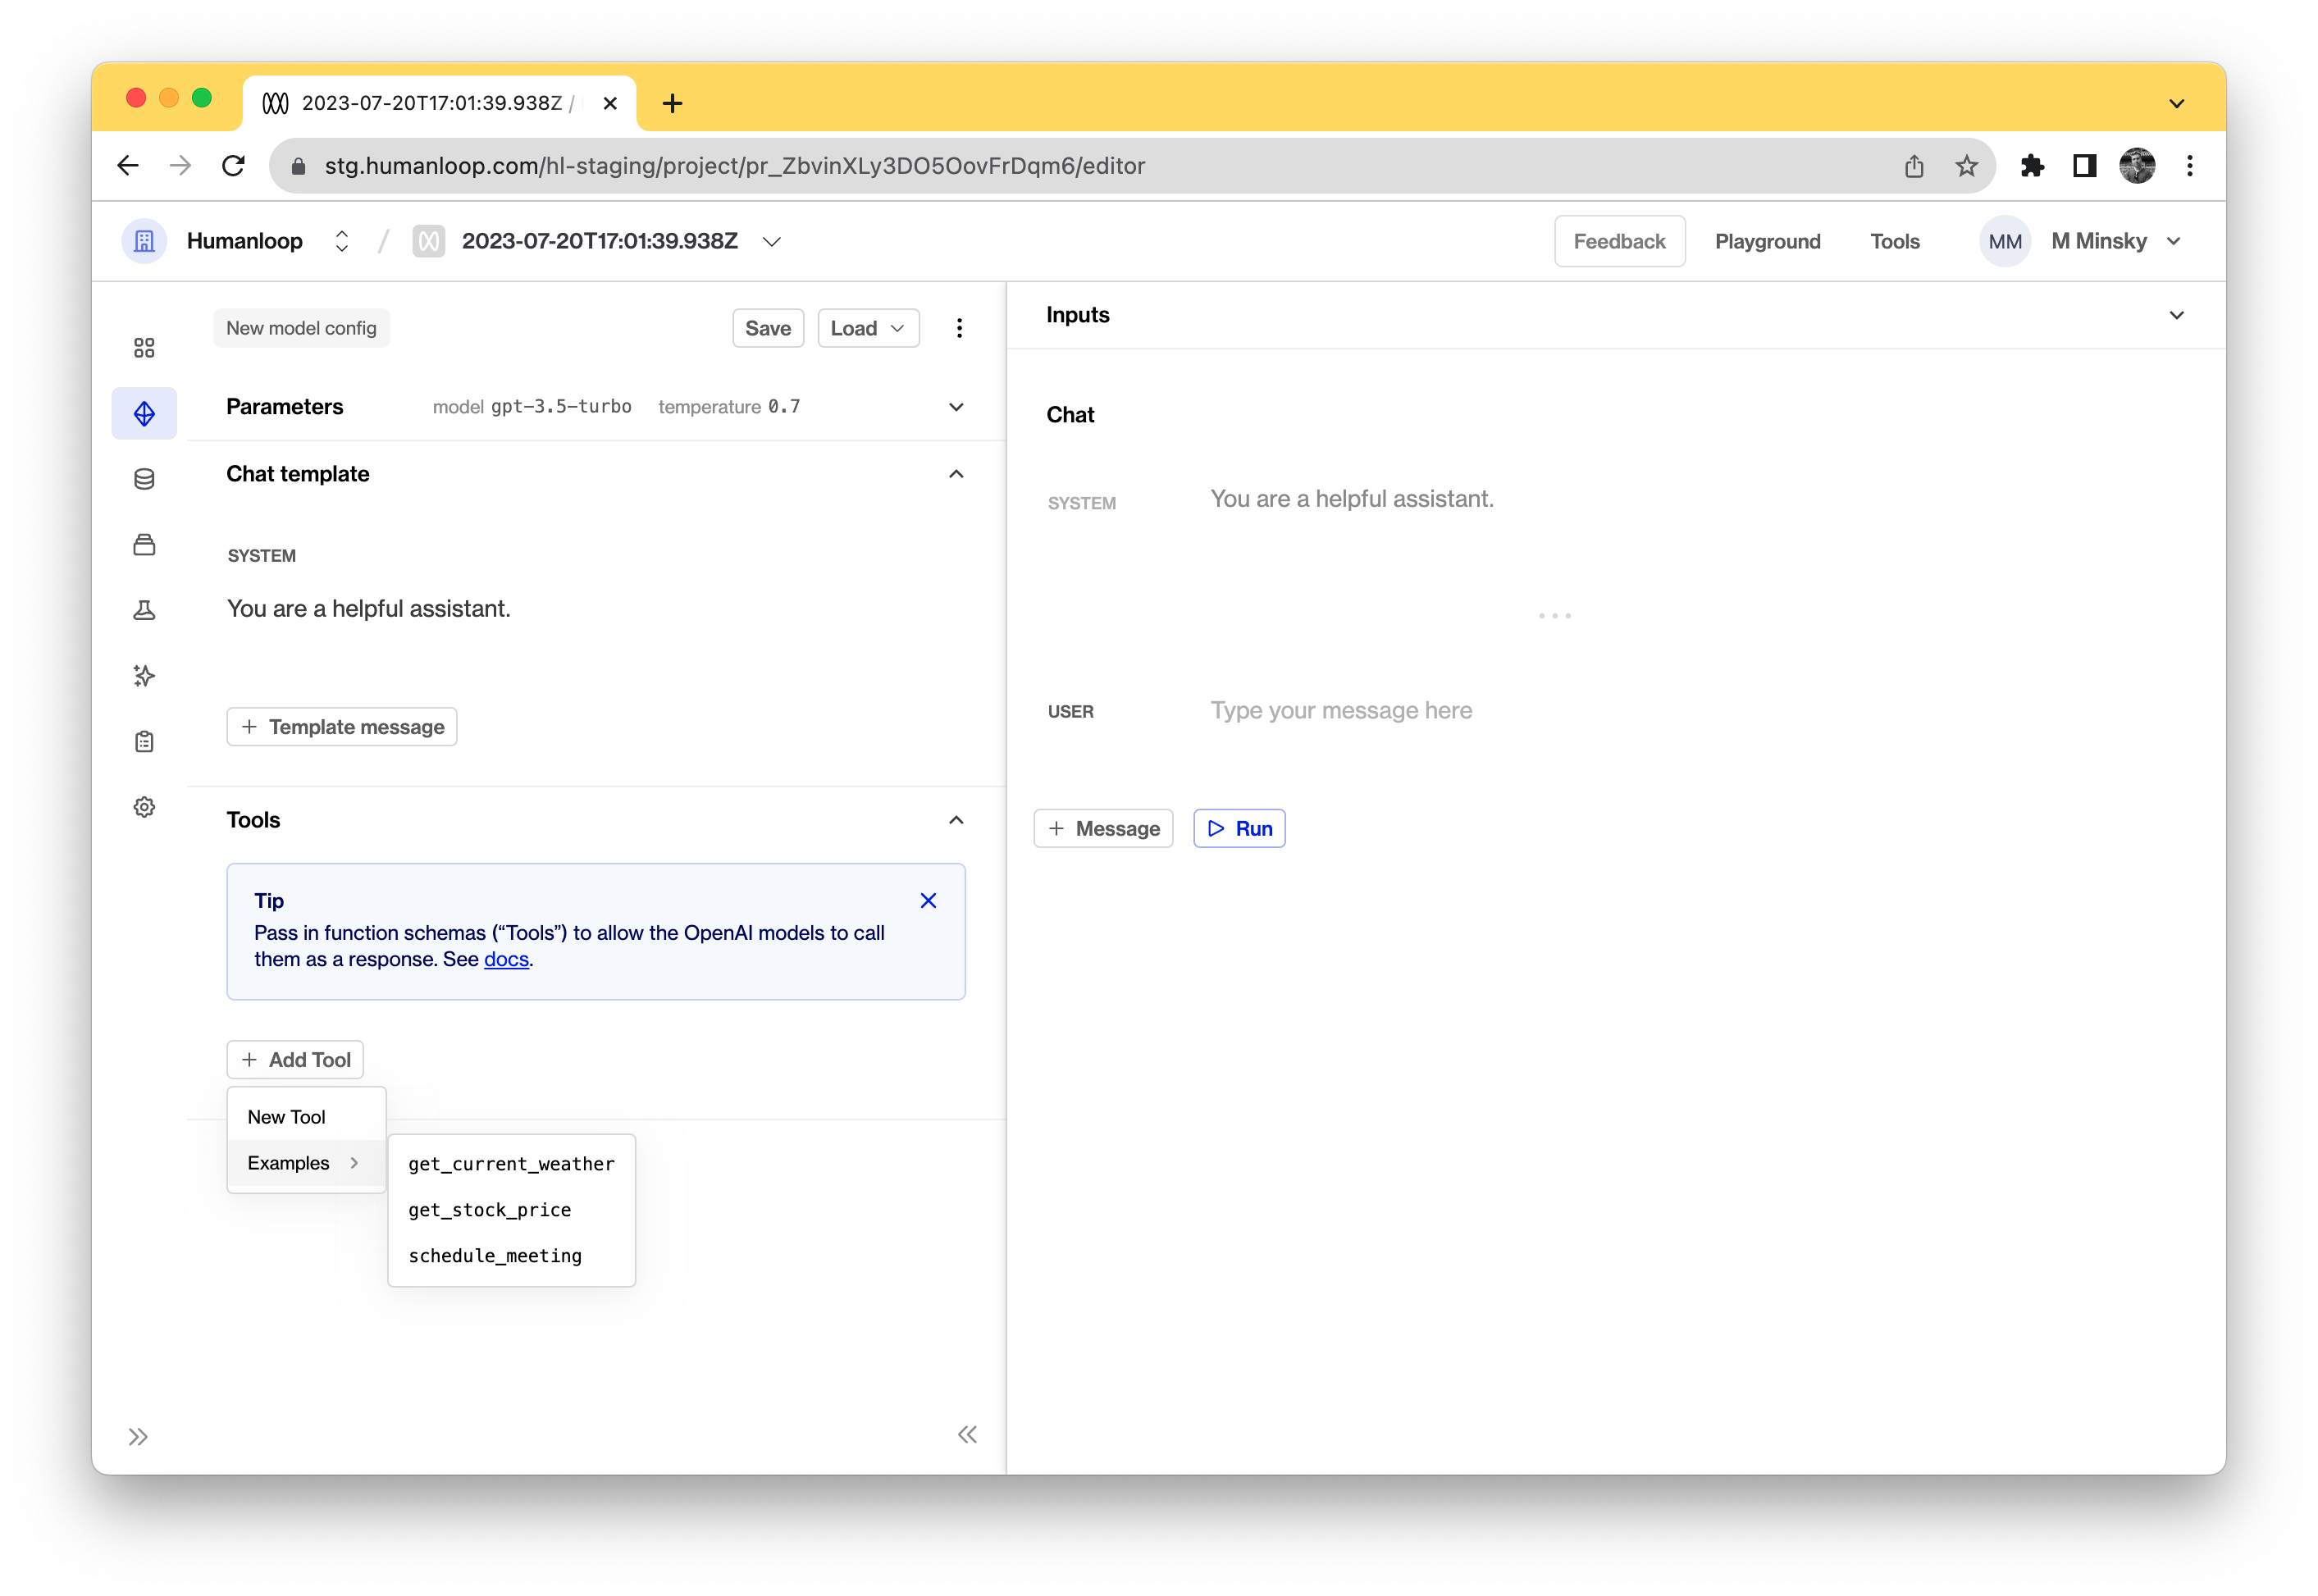
Humanloop's Editor supports the usage of OpenAI Functions, which we refer to as tools. Tools follow the same universal json-schema definition as OpenAI functions. You can now define tools as part of your model configuration in the editor. These tools allow you to define a structure for OpenAI to follow when responding. In this guide, we'll walk through the process of using tools in the editor to interact with gpt-4.
Create a Tool
Prerequisites
- A Humanloop account - you can create one by going to our sign up page.
- You already have a project created - if not, please pause and first follow our project creation guides.
Models supporting OpenAI Functions
Only OpenAI
gpt-3.5andgpt-4models currently support Tools.
To create and use a tool follow the following steps:
-
Open the editor: Start by opening the Humanloop Editor in your web browser. You can access this directly from your Humanloop account dashboard.
-
Select the model: In the editor, you'll see an option to select the model. Choose
gpt-4from the dropdown list. This is important as onlygpt-3.5andgpt-4models currently support tools. -
Define the tool: To define a tool, you'll need to use the universal json-schema syntax. For the purpose of this guide, let's select one of our preloaded example tools
get_current_weatherwhich asking OpenAI to return data related to the location and unit of temperature for that location when a customer is asking a relative question.
-
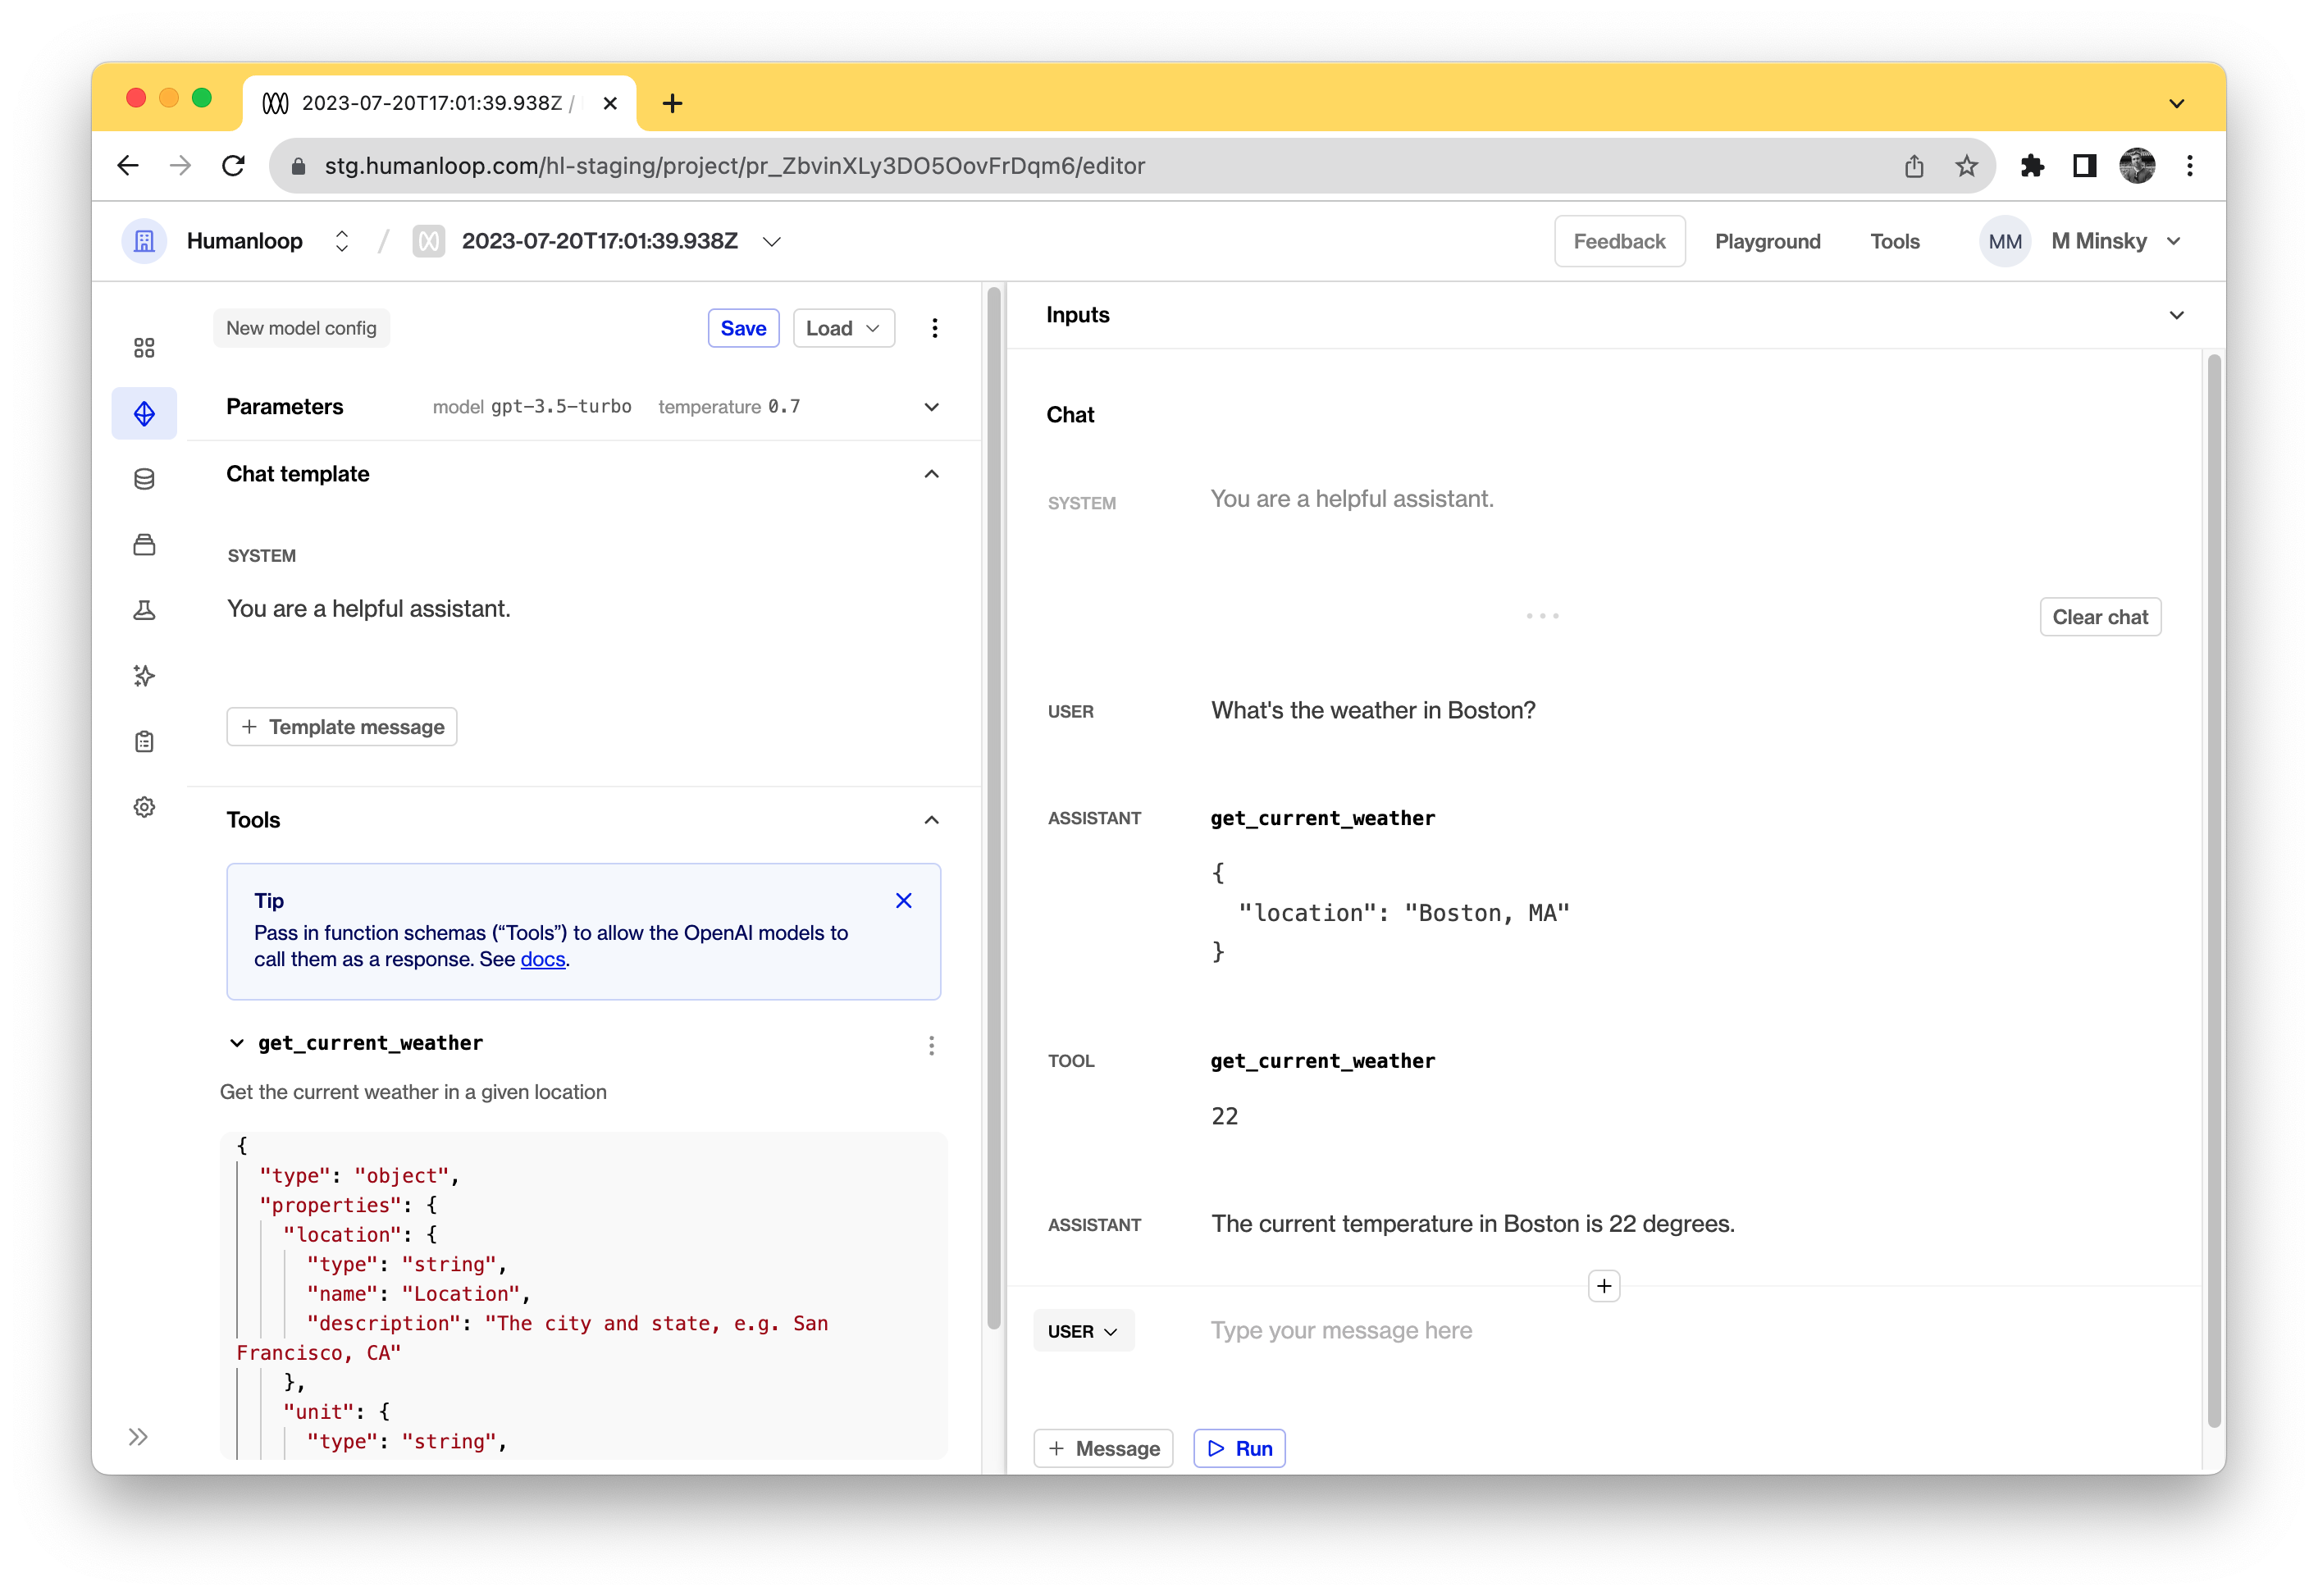
Input user text: Let's input some user text relevant to our tool to trigger OpenAI to respond with the corresponding parameters. Since we're using a weather-related tool, type in:
What's the weather in Boston?.
OpenAI responds relative to the user input
It should be noted that a user can ask a non-weather related question such as 'how are you today?' and it likely wouldn't trigger the model to respond in a format relative to the tool.
- Check assistant response: If correctly set up, the assistant should respond with a prompt to invoke the tool, including the name of the tool and the data it requires. For our
get_current_weathertool, it might respond with the relevant tool name as well as the fields you requested, such as:
get_current_weather

{
  "location": "Boston"
}
-
Input tool parameters: The response can be used locally or for prototyping you can pass in any relevant values. In the case of our
get_current_weathertool, we might respond with parameters such as temperature (e.g., 22) and weather condition (e.g., sunny). To do this, in the tool message that was created below the assistant tool response add the parameters in the in the format{ "temperature": 22, "condition": "sunny" }. To note, the response format is also flexible, inputting22, sunnylikely also works and might help you iterate more quickly in your experimentation. -
Submit tool response: After defining the parameters, click on the 'Run' button to send the Tool message to OpenAI.
-
Review assistant response: The assistant should now respond using your parameters. For example, it might say:
The current weather in Boston is sunny with a temperature of 22 degrees.
-
Save the model config If you are happy with your tool you can save the model config. The tool will be saved on that model config and can be used again in the future by loading the model config again in the editor or by calling the model config via our SDK.
Updated 5 months ago
Follow our Guide to Use OpenAI Functions with the Humanloop SDK.